
From install to first search in five minutes
On first launch Findex opens a setup wizard. Follow it in order — language → window mode → document folders → AI assistant → preparation — and you are ready to search. Since 1.2 a lightweight online installer and automatic updates are part of the package.
STEP 1
Download and install
The download page offers two channels: Stable is the fully verified release (1.1.x) and Preview is 1.2, where new features arrive first. This guide follows the 1.2 screens.
| Installer | Use it when |
|---|---|
| Online installer (EXE, ~25 MB) | Ordinary PCs with internet access. Install from a small file; on first run Findex downloads the remaining components (Python libraries, Node.js runtime, extension servers, OCR models) with a progress screen. Interrupted downloads resume next time, and Cancel/Close let you pause and continue later. |
| Offline installer (EXE / MSI, ~240–310 MB) | Air-gapped PCs, closed networks, or rolling out to many machines. Everything is included, so it is ready immediately. Korean environments are offered the MSI, other languages the multilingual EXE. |
- Download the installerPick a channel and installer on the download page.
- Run the installerWindows 10/11 on x86-64 (x64). ARM-based devices are not supported. If the WebView2 runtime is missing it is installed automatically.
- Launch FindexFindex starts after installation. Online installs first show the Findex component setup screen to fetch the rest; then the one-time setup wizard opens.
Updates are automatic from here on. When a new version ships, the app tells you with a banner and an Update chip in the header, downloads only the changed parts, applies them, and restarts. Manage the check schedule and manual checks in Settings → About → Updates.
STEP 2
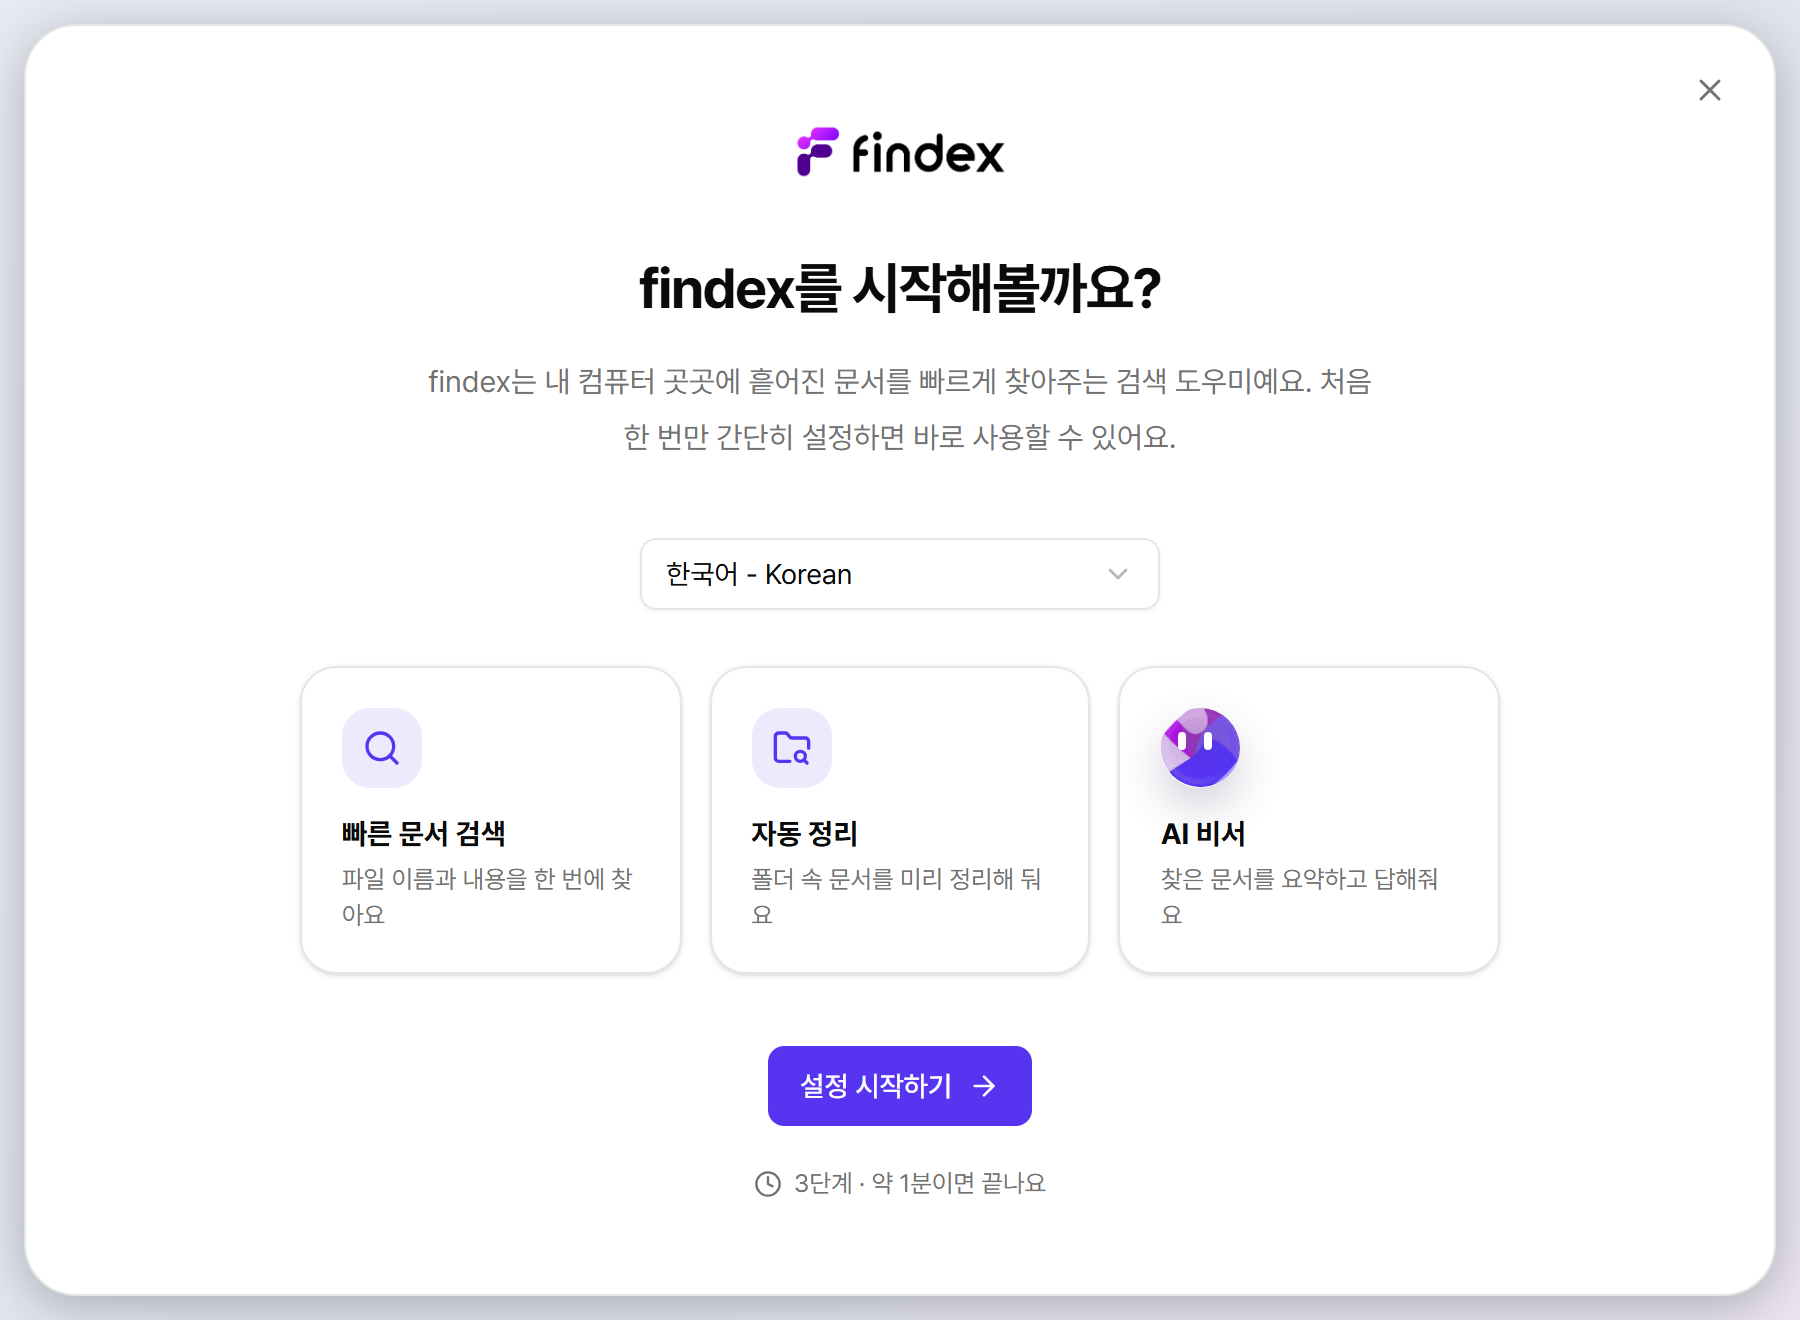
Welcome screen — choose your language
The first screen introduces Findex and lets you pick the display language. Twelve languages are supported (한국어, English, 日本語, …). Your choice applies to the whole UI, notifications, and Luna's response language, and can be changed anytime in Settings → General.
STEP 3
Choose Simple or Normal mode
Choose how Findex opens. Both modes provide Quick and Precise Search, but their workspace and window behavior differ. Since 1.2 Normal mode is preselected. The choice is saved and can be changed later from the header toggle or Settings → General → Window & launch.
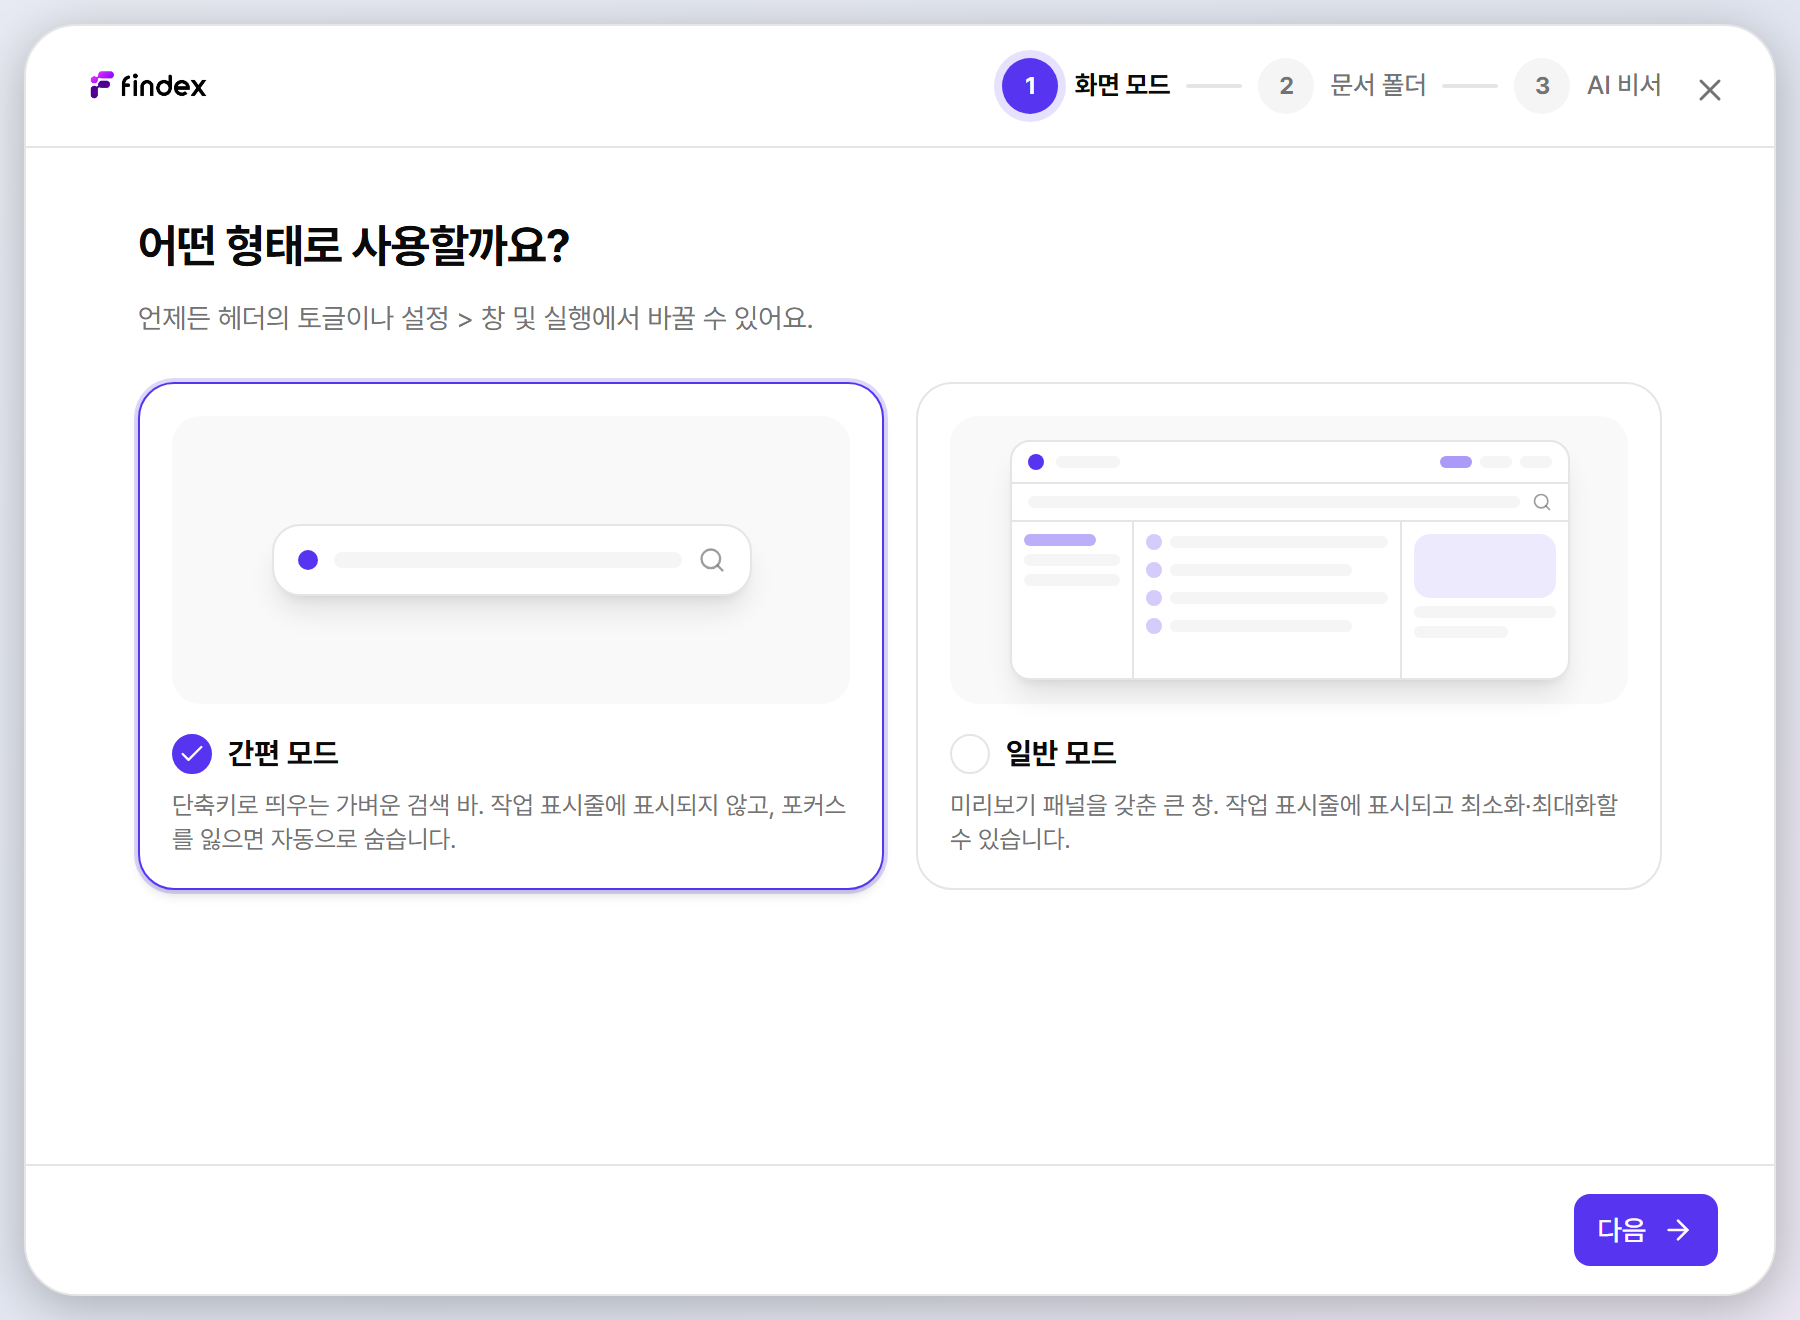
Simple mode
A lightweight search bar summoned by shortcut; it hides when it loses focus. Taskbar presence and always-on-top are separate options in Settings → General.
Normal mode
A full window with filters, recent documents, and preview panels. It appears in the taskbar, supports minimize/maximize, and remains open when focus moves away.
STEP 4
Pick document folders — the most important step
Here you decide which folders Findex searches. Click Add folder and choose one or more folders where your documents actually live. These become “watched folders”: their documents are indexed automatically and kept up to date as files change.
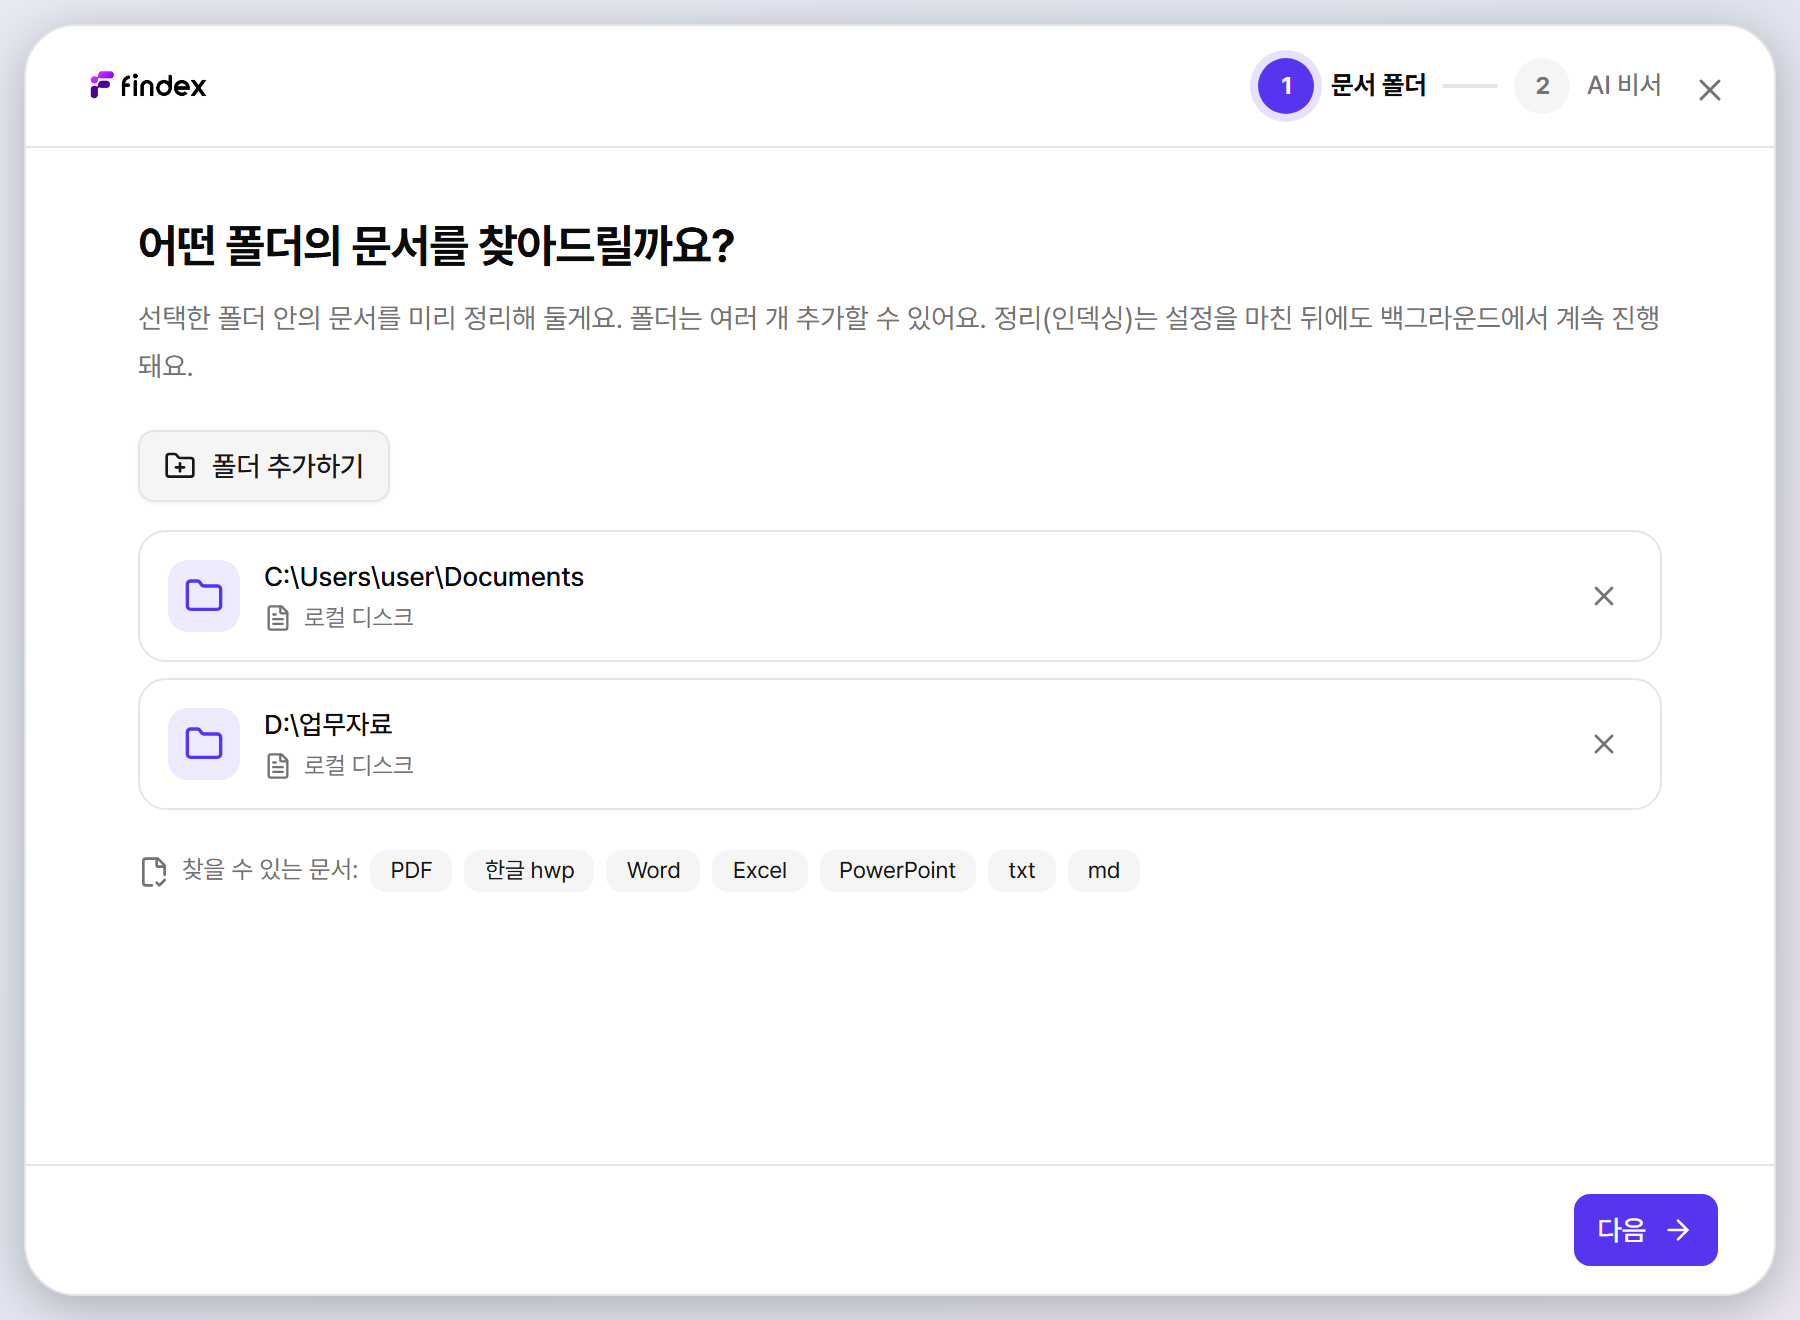
Which folders should I pick?
- Recommended: roots where documents are concentrated, like Documents or a work-files folder.
- Avoid: entire drives such as C:\. The first scan takes much longer and unrelated files pollute results.
- Network folders (NAS, shares): supported, but the first sync can be slow and change watching may be limited. If updates seem missing, run a manual rescan from Settings → Engine.
You can add or remove folders anytime later in Settings → Folders, so start light.
STEP 5
Connect an AI assistant (optional)
Connecting an LLM enables Luna and other AI features. This step is optional — click Start without AI assistant to skip it. Quick and precise search work fully without an LLM.
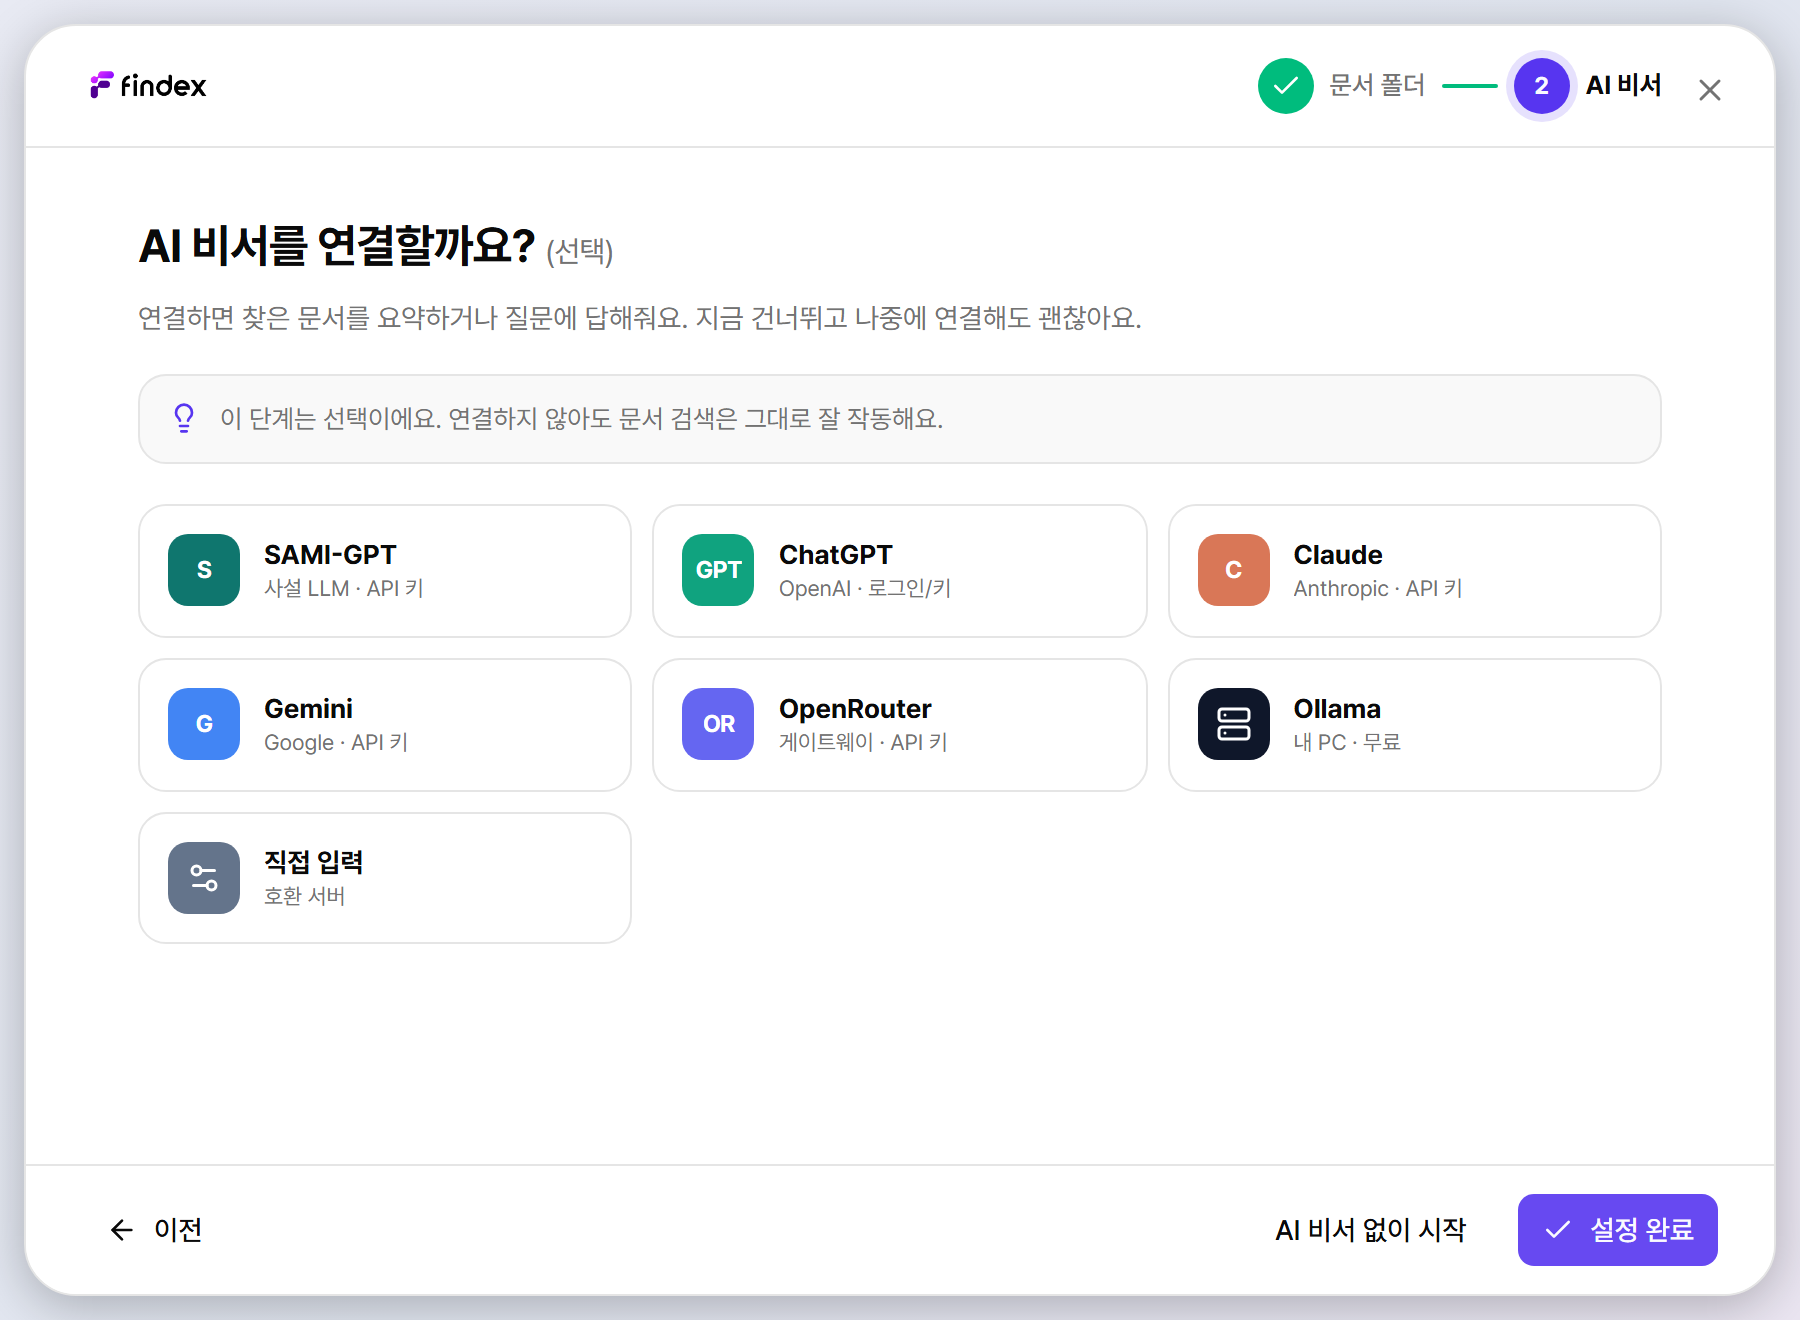
Supported providers are listed below. If your security policy requires it, choose a local model that runs on your PC (Ollama, LM Studio) instead of a cloud provider.
| Provider | Type | How to connect |
|---|---|---|
| SAMI-GPT | Private endpoint | Base URL + API key |
| OpenAI | Cloud | API key or ChatGPT OAuth sign-in |
| Claude | Cloud | API key |
| Gemini | Cloud | API key |
| OpenRouter | Gateway | API key |
| Ollama | Local | Connects to Ollama running on your PC |
| LM Studio | Local | Connects to LM Studio on your PC |
| OpenAI-compatible | Custom | Enter any compatible server URL |
STEP 6
Preparation — engine start and indexing
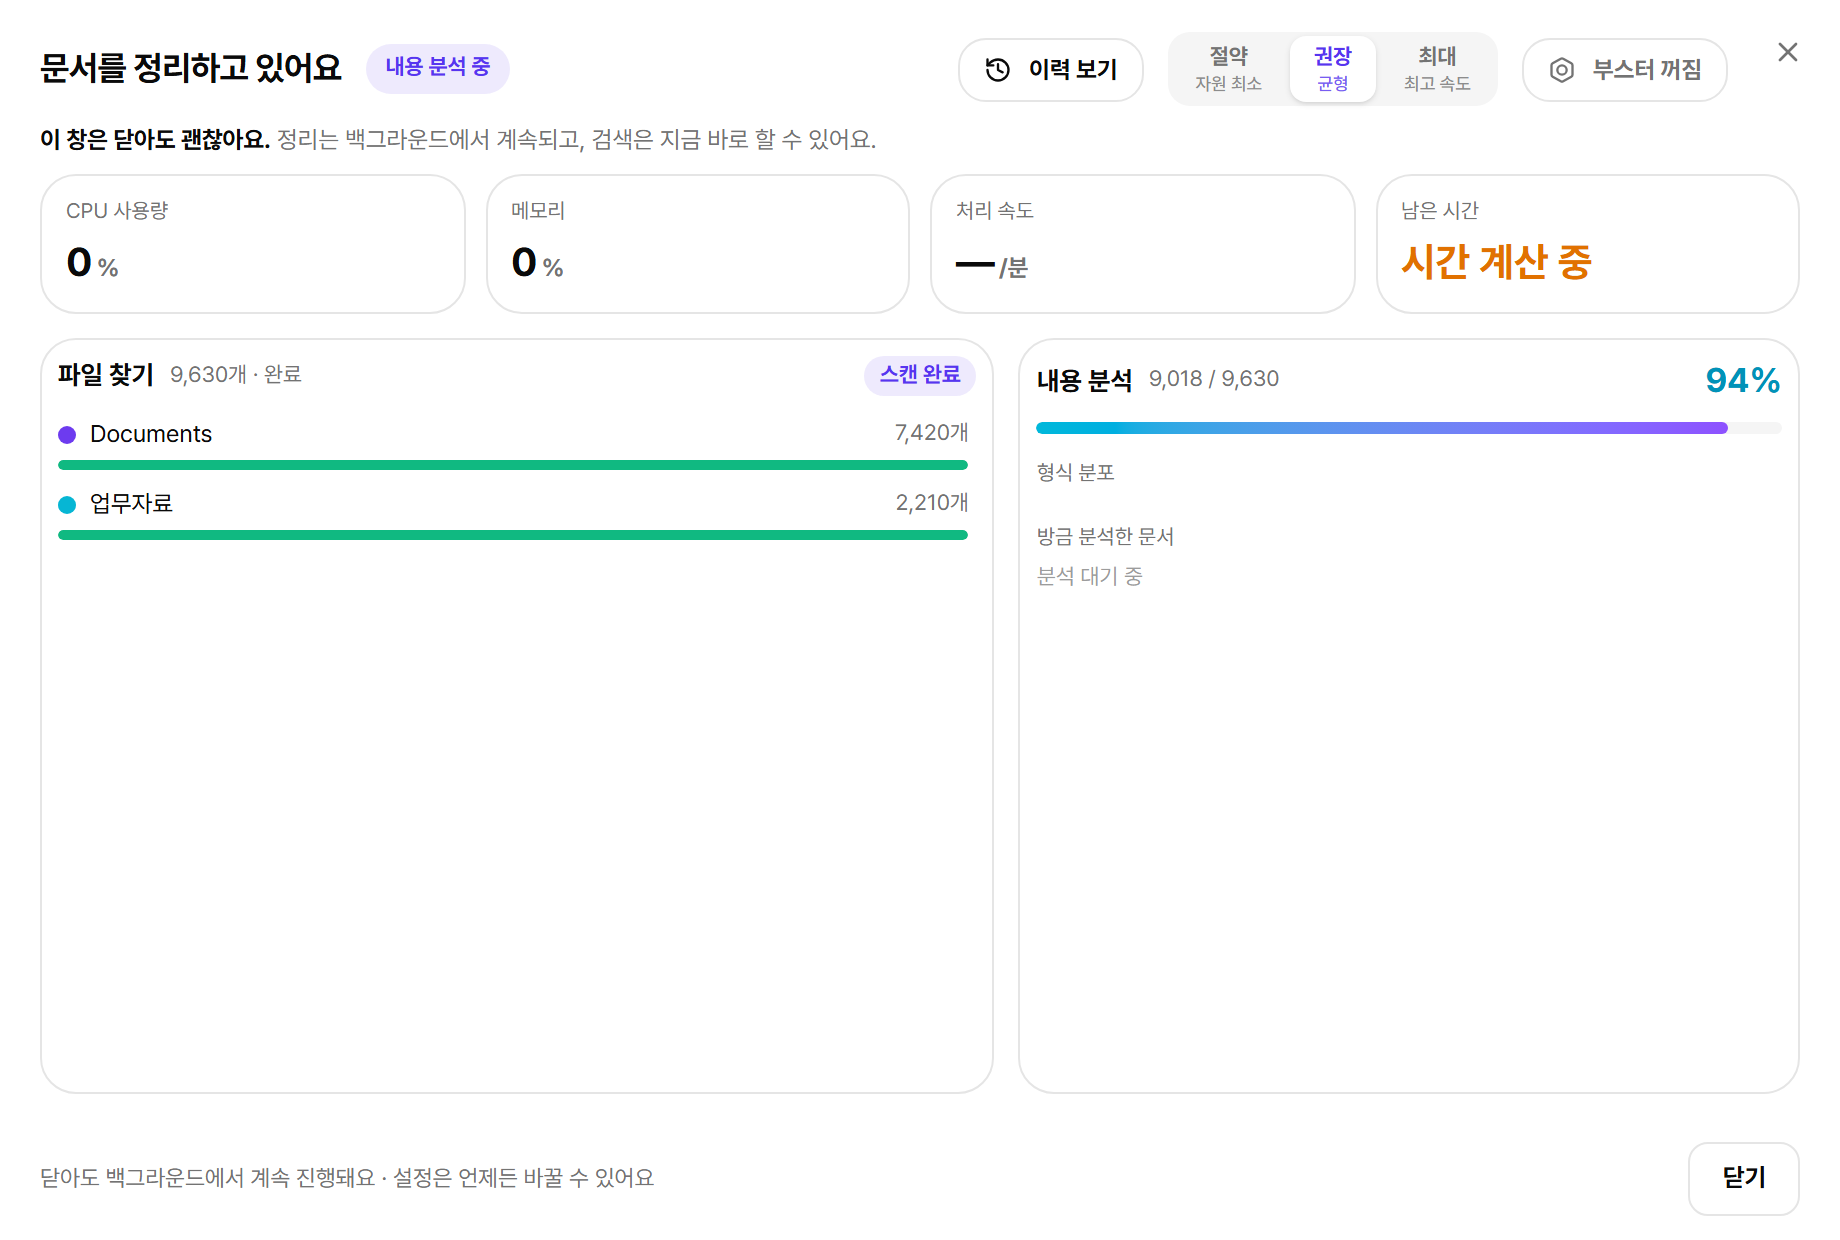
Findex then wakes up the search engine and prepares the index. When it is ready, click Start findex to reach the main window. Indexing continues in the background — you can search right away, and precise-search results get richer as indexing progresses.
STEP 7
Run your first search
Press Ctrl+Shift+F anywhere to open Findex. Simple mode starts as a slim input and grows with the results; Normal mode opens directly into the Command Center with filters, recent searches, and recent documents.
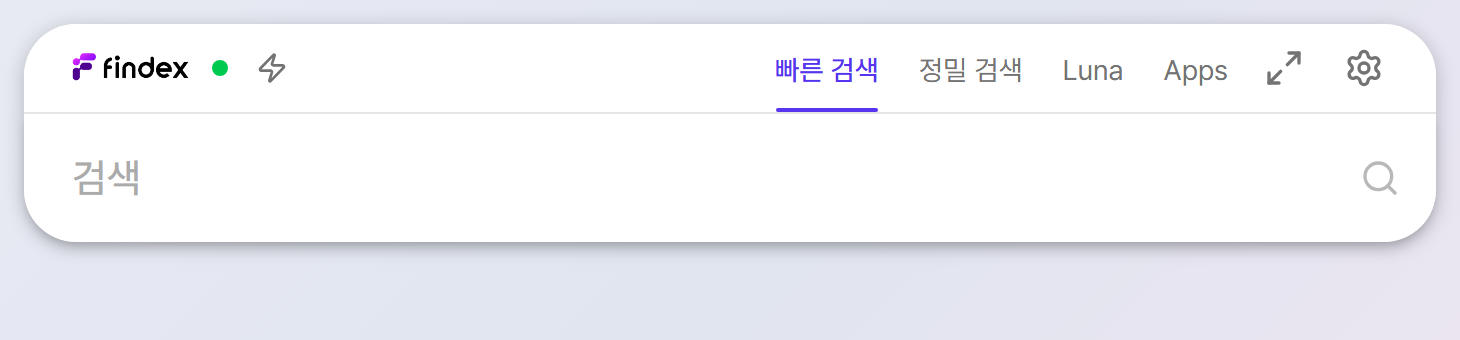
- Results update live once you type at least two characters.
- Move through results with ↑/↓ and open a file with Enter.
- Esc closes an open filter first, then hides the current window. It does not change the saved window mode.
STEP 8
The tray icon and the global shortcut
Findex keeps running in the system tray after you dismiss the window — that is what makes the instant shortcut possible.
- Click the tray icon: show/hide the search window
- Right-click menu: Open, Settings, Exit
- Change the shortcut: Settings → General → Global shortcut
- Autostart: enable “Start Findex at login” in Settings → General to start quietly in the tray after boot.
Setup complete! Continue to the Search chapter to get the most out of quick and precise search.